 Save to Pinterest
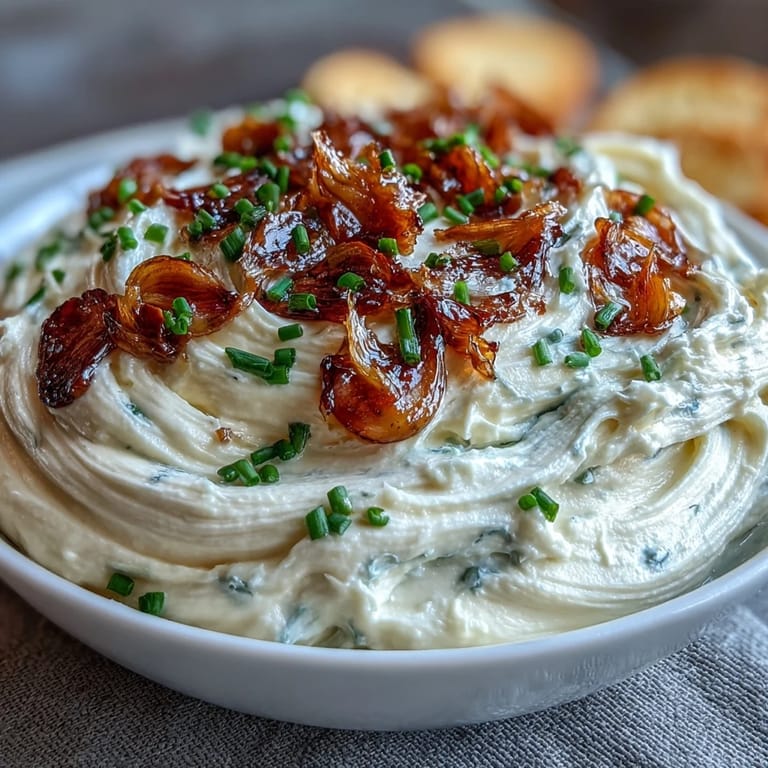
 There's something almost magical about roasted garlic—how it transforms from sharp and biting into something sweet and mellow, almost buttery. I discovered this spread on a lazy Sunday morning when I had a head of garlic sitting on my counter and cream cheese in the fridge, and I thought, why not? The result was so silky and luxurious that it became my go-to thing to bring to friends' houses, tucked into a small jar with a handwritten label. It's the kind of simple recipe that makes people ask for it again and again.
I'll never forget bringing this to a potluck where everyone assumed I'd bought it from some fancy deli—their faces when I casually mentioned I'd made it at home were worth the whole effort. My friend Sarah immediately started piling it onto everything, crackers, vegetables, even plain bread, and kept coming back for more. That's when I knew this spread had staying power.
Ingredients
- Cream cheese, softened: This is your base, and softening it beforehand (leave it on the counter for 30 minutes) makes all the difference in achieving that pillowy texture without overworking the mixture.
- Sour cream: The tangy sidekick that keeps the spread from being too heavy and adds a subtle brightness that cream cheese alone can't provide.
- One large head of garlic: Choose a head with plump cloves and papery skin, as these roast more evenly and taste sweeter than smaller, drier bulbs.
- Fresh chives: Optional but wonderful—they add a whisper of onion flavor and a little color without demanding attention.
- Salt and freshly ground black pepper: Taste as you go; the roasted garlic is already sweet, so you need just enough salt to make the flavors pop.
- Olive oil for roasting: A drizzle helps the garlic steam and caramelize, creating that deep, honeyed flavor.
Tired of Takeout? 🥡
Get 10 meals you can make faster than delivery arrives. Seriously.
One email. No spam. Unsubscribe anytime.
Instructions
- Heat your oven and prepare the garlic:
- Set the oven to 200°C (400°F). Slice off the very top of your garlic head to expose the cloves, then nestle it on a piece of foil, drizzle with olive oil, and wrap it up loosely so steam can circulate but the garlic stays moist.
- Roast until golden and soft:
- Pop it in the oven for 35 to 40 minutes—you'll know it's done when the cloves are caramel-colored and squeeze out of their skins like butter. The smell alone is worth the wait.
- Squeeze and mash the roasted cloves:
- Once cool enough to handle, squeeze each clove into a bowl (they slip right out of their papery skins) and mash with a fork into a smooth paste, taking a moment to appreciate how different roasted garlic tastes from raw.
- Whip everything together:
- Add your softened cream cheese, sour cream, salt, and pepper to the roasted garlic. If you have a hand mixer, use it—this is your chance to beat air into the mixture and make it light and fluffy. If you're mixing by hand, just keep going with vigor until the graininess disappears and you have something cloud-like.
- Add the finishing touch:
- Fold in the chives gently so they don't bruise, taste your creation, and adjust seasoning if needed—sometimes roasted garlic is sweeter in one bulb than another.
- Chill and serve:
- Transfer to your serving bowl and refrigerate for at least 30 minutes to let the flavors marry and deepen. You can also serve it right away if you're impatient, though it's even better cold.
 Save to Pinterest
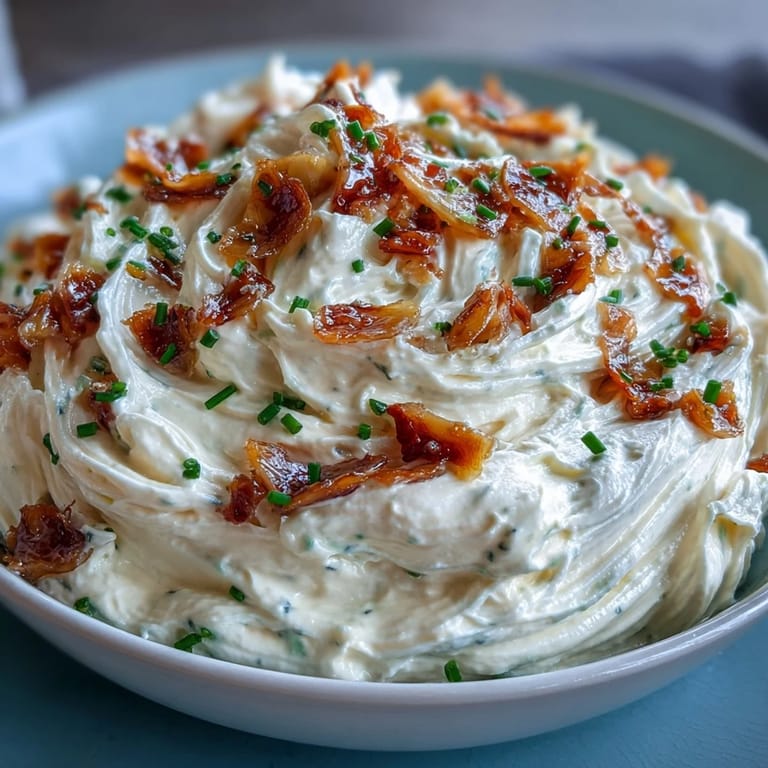
 My neighbor tasted this once and started buying cream cheese in bulk, determined to recreate it at home. A week later she called laughing and admitted her roasted garlic came out burnt and bitter, so I showed her my trick: wrapping it gently and not turning up the heat too high. Now she makes it every other week, and we've become that pair of people who always have a jar of this in our fridges.
Why Roasted Garlic Changes Everything
Raw garlic cloves are fierce and demanding, but heat performs an alchemy that turns them sweet, creamy, and almost caramel-like. The natural sugars in garlic caramelize during the slow roast, while the harsh sulfur compounds mellow out completely, leaving behind pure, mellow flavor. This is why roasted garlic is used in everything from soups to compound butters—it's garlic that's been gentled by time and warmth into something almost luxurious.
The Art of Whipping and Aerating
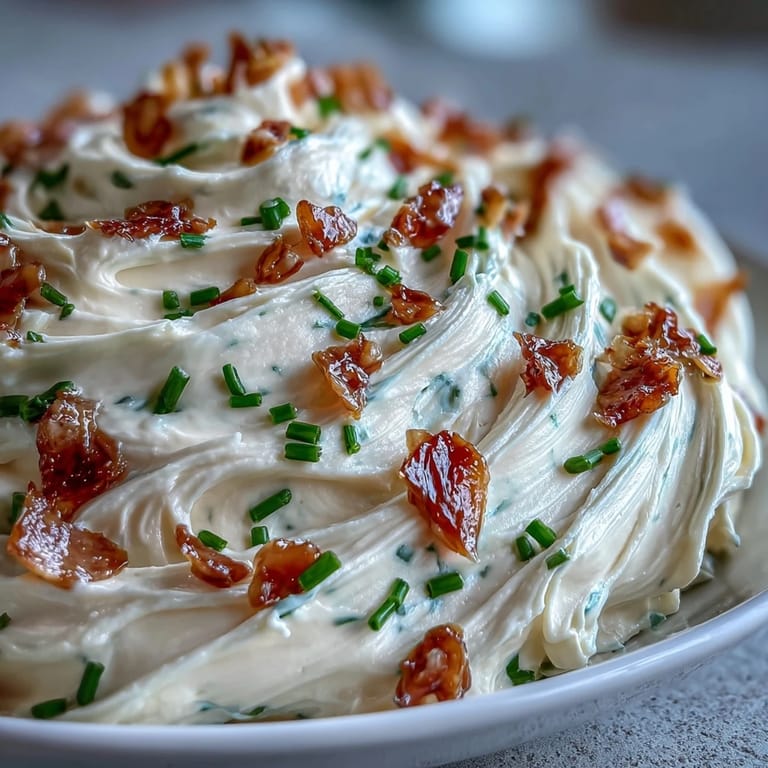
The difference between a dense, heavy spread and one that feels light on your tongue is air—real, intentional air beaten into the mixture. A hand mixer does this in seconds, but even vigorous hand-whisking works beautifully; you're looking for the moment when the mixture goes from smooth paste to something that holds peaks and feels fluffy. This is also where the spread becomes easier to scoop onto crackers or bagels, because that airiness makes it feel less rich and heavy than plain cream cheese.
Variations and Personal Touches
This is where you make the spread your own, and the beauty is that it takes direction well. Some versions are tangy (use Greek yogurt instead of sour cream), some are herby (add dill or fresh basil alongside the chives), and some lean into earthiness (a pinch of smoked paprika or a tiny bit of honey works wonderfully). I've made it a hundred different ways, and each version has taught me something about flavor balance and what my guests actually reach for first. The core—roasted garlic, cream cheese, a touch of tang—stays the same, but the variations let you tell your own story with the spread.
- Try swapping sour cream for Greek yogurt if you prefer a tangier, lighter result.
- A small handful of fresh dill, parsley, or basil can transform this from simple to sophisticated.
- For a subtle sweetness, drizzle in a tiny touch of honey or add a pinch of smoked paprika for depth.
 Save to Pinterest
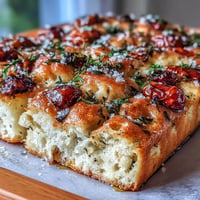
 This spread has a way of turning ordinary bread into something worth savoring, and somehow it's always the first thing to disappear at a gathering. Make it once and you'll find yourself making it again and again.
Recipe FAQs
- → How do you roast garlic for this spread?
Slice the top off a garlic head, drizzle with olive oil, wrap in foil, and roast at 200°C (400°F) for 35–40 minutes until soft and caramelized.
- → Can I use any cream cheese for the spread?
Use softened full-fat cream cheese for the best creamy texture and flavor balance in the final blend.
- → What can I substitute for sour cream?
Greek yogurt works well as a tangy alternative, adding a similar creamy consistency and flavor profile.
- → How long should the spread be chilled?
Chill for at least 30 minutes to allow flavors to meld and the texture to firm up, though it can be served immediately if desired.
- → Are fresh herbs recommended in this spread?
Fresh chives are a classic addition, but parsley, dill, or basil also complement the garlic and creamy base nicely.
- → Is this spread suitable for gluten-free diets?
Yes, all ingredients are naturally gluten-free, but verify any additional items to avoid cross-contamination.