 Save to Pinterest
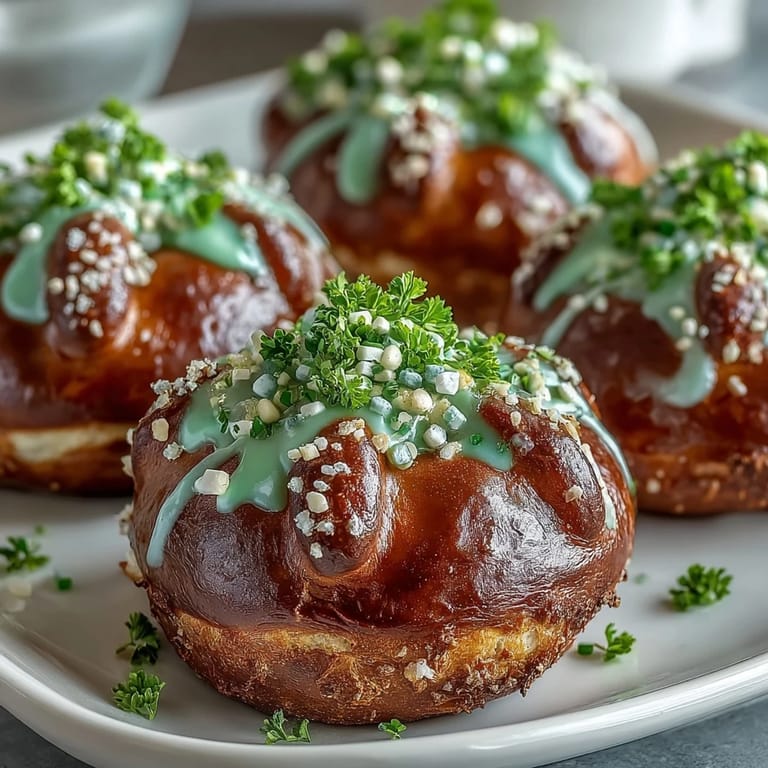
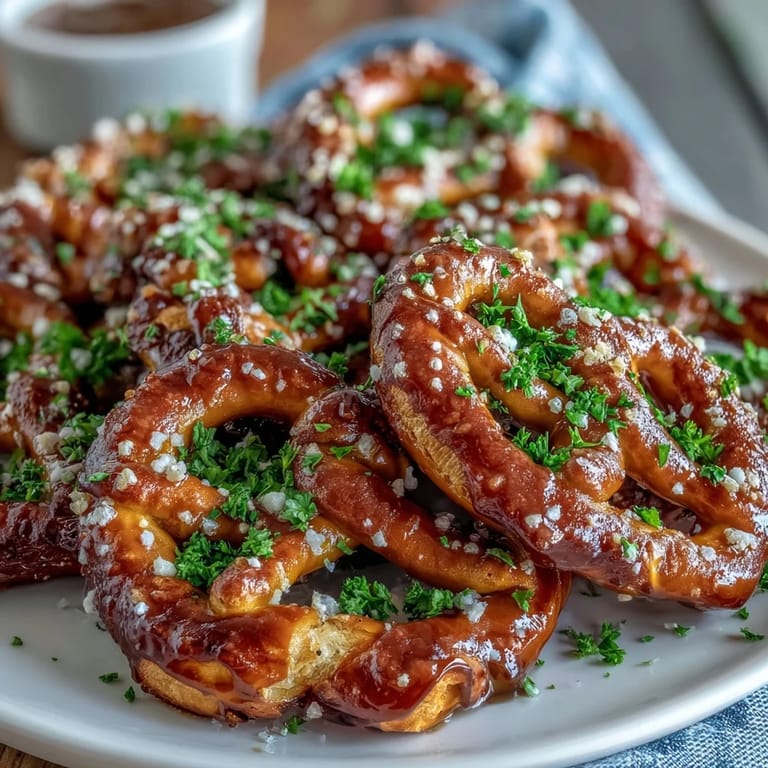
 My neighbor knocked on my door two days before St. Patrick's Day with a panicked look, asking if I could help her make something festive for her kids' classroom party. We ended up assembling these shamrock pretzel bites together in her kitchen, and what struck me most was how the kids' faces lit up when they saw the green-coated clovers arranged on the platter—it felt like we'd made actual magic from pretzels and candy melts. That afternoon taught me that the simplest treats, when shaped with intention and a little color, become the ones people remember.
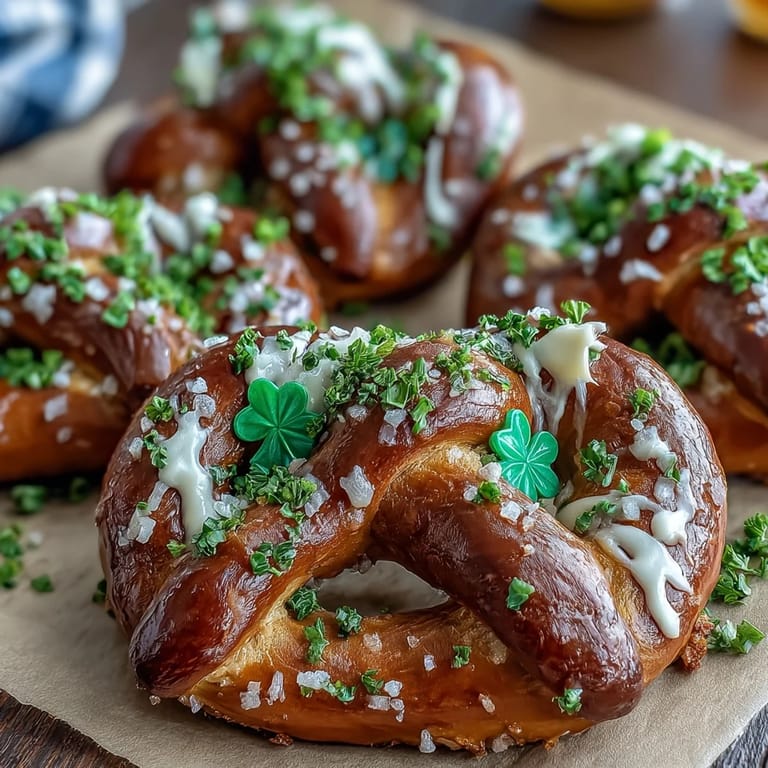
I remember standing at my friend's kitchen counter, both of us giggling as we carefully balanced three pretzel twists into shamrock shapes, sometimes they'd tumble apart and we'd start over. By the third batch, we'd found our rhythm, and there was something meditative about the repetitive motion, the gentle clink of pretzels being arranged, the anticipation of what they'd look like dipped in green. When we finally drizzled that first batch, the candy coating pooled in the crevices of the pretzels and bound them together into these perfect little clover bites.
Ingredients
- 90 small pretzel twists (about 3 per shamrock): These are your canvas—look for the smaller varieties that are easier to handle and shape, and avoid any that seem stale because the coating won't stick as well.
- 30 mini pretzel sticks (for stems): These anchor your shamrock design, so pick ones that are sturdy and straight rather than bent.
- 340 g (12 oz) green candy melts: The foundation of your coating; if you can't find green, white chocolate with a touch of green food coloring works beautifully and might even taste slightly better.
- 1 tsp coconut oil or vegetable shortening (optional, for smoother coating): This ingredient is a game changer if your candy melts seem too thick—it thins them out without affecting the flavor.
- Green and white sprinkles or sanding sugar: Apply these while the coating is wet, or they'll slide right off; the contrast between green and white makes the bites really pop.
Tired of Takeout? 🥡
Get 10 meals you can make faster than delivery arrives. Seriously.
One email. No spam. Unsubscribe anytime.
Instructions
- Prepare your workspace:
- Line your baking sheet with parchment paper so the coated shamrocks won't stick and become a puzzle to remove. Having everything ready before you start makes the assembly flow much more smoothly.
- Build your shamrocks:
- Arrange three pretzel twists in a clover shape with their curves facing outward to form the leaves, then nestle a mini pretzel stick underneath as the stem—think of it like you're creating a tiny edible shamrock garden. This might feel fiddly at first, but after a few you'll get the hang of which way the pretzel curves work best.
- Melt the candy coating:
- Follow your candy melts package directions, usually 30-second bursts in the microwave stirred between each round, until smooth and pourable. If it feels too thick to drizzle, stir in that optional coconut oil bit by bit until you reach the right consistency.
- Coat each shamrock:
- Use a fork or spoon to drizzle or spoon the melted green candy over each assembled shamrock, making sure the coating reaches between the pretzel twists and the stem to bind everything together. Work gently so your shamrock shapes don't shift apart.
- Add the sprinkles:
- While the coating is still wet and tacky, immediately shower each shamrock with green and white sprinkles—this is where the magic happens and your bites look truly festive. If you wait too long, the coating will set and the sprinkles won't stick.
- Let them set:
- At room temperature, they'll firm up in about 20 minutes, but refrigerating for 10 minutes speeds things up if you're in a hurry. You'll know they're ready when the green coating feels solid and doesn't give when you gently press it.
- Lift and display:
- Once completely set, gently peel each shamrock away from the parchment paper and arrange them on your serving platter. They're sturdy once dried, so don't be afraid to handle them.
 Save to Pinterest
 There was a moment when my neighbor's daughter came home from school, saw the shamrocks arranged on the counter, and actually gasped—just held her breath for a second before reaching out to touch one. That reaction made the whole assembly process feel worthwhile, because we'd turned simple pantry ingredients into something that brought genuine joy. Food doesn't need to be complicated to be meaningful.
Why Green Candy Melts Matter
The candy melts are what transform basic pretzels into something special and intentional. They're forgiving to work with, melt smoothly, and set firm enough that your shamrocks stay together, but if you absolutely can't find green ones, don't panic. White chocolate melts mixed with a little green food coloring will work in a pinch, though the white chocolate tends to be slightly sweeter and richer than traditional candy melts.
Make-Ahead Magic
I've made these three days in advance and stored them in an airtight container, and they stayed fresh and crunchy the whole time. The key is keeping them sealed away from humidity and heat, which would soften the pretzel base and make the coating sticky. If you're making them for a party, this is genuinely one of the best features—no last-minute stress.
Flavor Tweaks and Variations
While the classic green candy coating is festive and fun, I've started experimenting with little additions that bump up the flavor without changing the fundamental recipe. A tiny drop of peppermint extract in the melted candy creates a subtle minty note that's especially nice if you're serving them to adults, and some people swear by adding a whisper of almond extract for something unexpected.
- Peppermint extract is your secret weapon if you want a hint of holiday flavor without making them taste medicinal.
- White chocolate dipped shamrocks with green food coloring offer a slightly different texture and taste that some people prefer.
- Store everything in an airtight container at room temperature and they'll stay crispy and delicious for up to five days.
 Save to Pinterest
 These little shamrock bites have become my go-to recipe whenever I need something festive and stress-free, whether it's for a classroom party or a casual get-together. There's something lovely about making food that celebrates a holiday without requiring any real cooking skills.
Recipe FAQs
- → How do I shape the pretzels into shamrocks?
Arrange three small pretzel twists with their curves touching to form the shamrock leaves, then add a mini pretzel stick at the base as the stem.
- → What can I use if green candy melts are unavailable?
White chocolate mixed with green food coloring makes a great alternative for the candy coating.
- → How long do the pretzel bites need to set?
Allow them to set at room temperature for about 20 minutes or refrigerate for 10 minutes until the coating firms up.
- → Can I add extra flavor to the candy coating?
Yes, a drop of peppermint extract added to the melted candy enhances the flavor nicely.
- → How should I store these pretzel bites?
Keep them in an airtight container at room temperature for up to five days to maintain freshness.