 Save to Pinterest
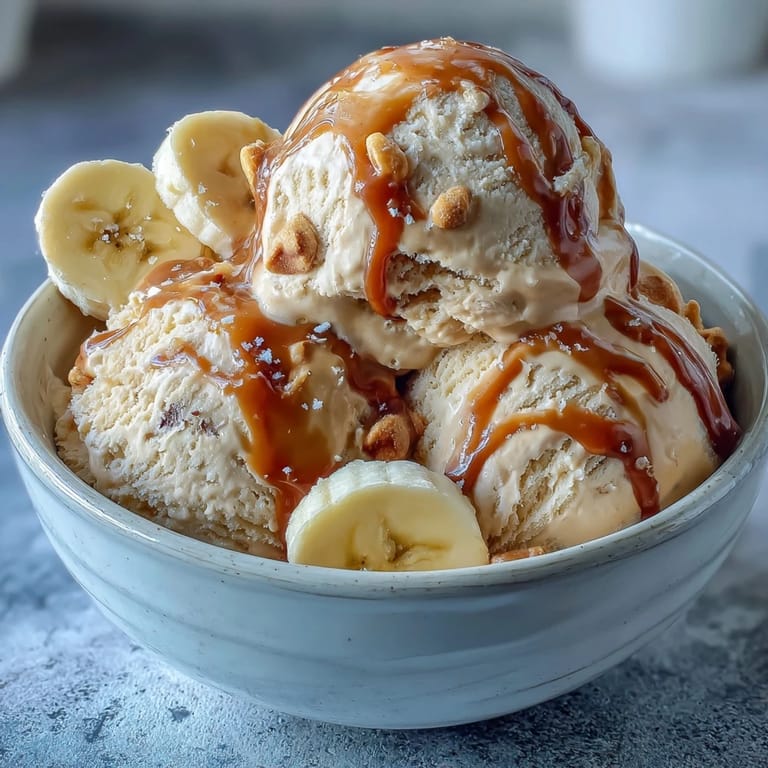
 Nothing perks up a sluggish afternoon quite like the aroma of ripe bananas in the kitchen, especially when they're destined for something as playful as homemade ice cream. The first time I tried this recipe, my hands were slightly sticky from slicing bananas, and my curiosity was piqued by the simplicity of just four ingredients. The melodic hum of the food processor became an unexpected soundtrack as the creamy base came together. Minimal effort and a little patience deliver a frozen treat that's both comforting and a little bit magical, no fancy gadgets or culinary degrees required.
I remember scooping this out for a late-night movie marathon with friends, laughter echoing as we guessed the main ingredient. There was something contagious about the surprise on their faces when they learned it was just bananas and peanut butter spinning all the flavor. It’s become a go-to when I want to impress without announcing my shortcuts.
Ingredients
- Ripe bananas: The riper, the better—those brown spots promise natural sweetness and velvety texture.
- Creamy peanut butter: Smooth blends in seamlessly, and I always give mine a quick stir to make sure it’s not too stiff.
- Maple syrup (or honey): A touch of liquid gold lifts the sweetness, though you can skip if your bananas are ultra-ripe.
- Vanilla extract: Don’t skimp here; it ties everything together and distracts from any ‘banana-only’ flavor.
Tired of Takeout? 🥡
Get 10 meals you can make faster than delivery arrives. Seriously.
One email. No spam. Unsubscribe anytime.
Instructions
- Prep your bananas:
- Slice your bananas thickly and arrange them on a lined baking sheet, aiming for as little overlap as possible. Let them freeze undisturbed for at least two hours, until they’re rock solid and snap if you tap them together.
- Ready your blender:
- Toss the frozen banana coins, peanut butter, maple syrup, and vanilla into your food processor or blender. Let the motor run in bursts, pausing to scrape the creamy swirls from the sides so nothing goes to waste.
- Blend to perfection:
- Keep blending until you see a smooth, billowy cream; if things look stubborn, let the mixture rest a moment and try again to avoid overheating your machine.
- Choose your texture:
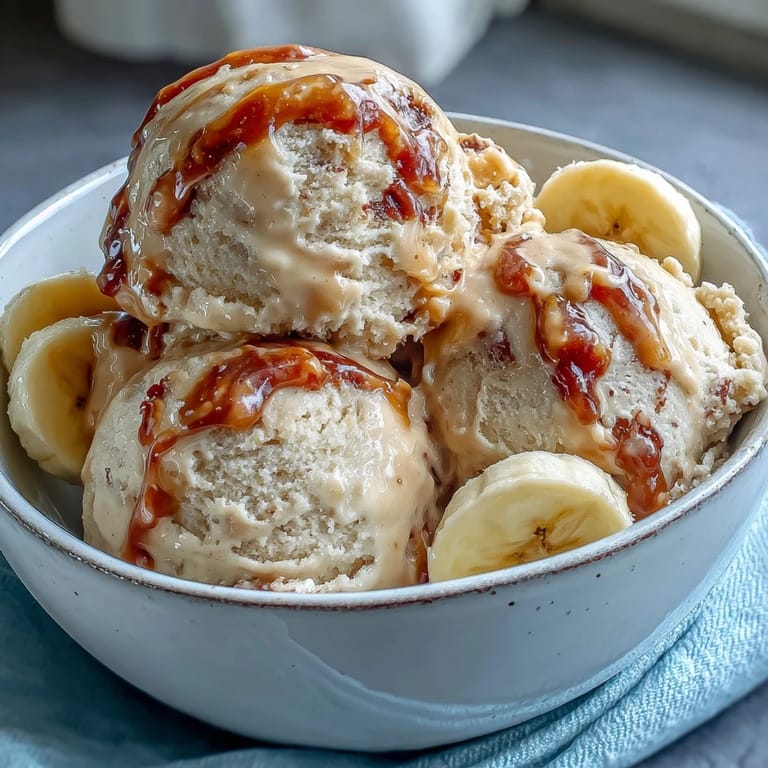
- If you love soft-serve, grab your scoop and dive in right away. For firmer scoops (my favorite for cones), spread the ice cream in a container, smooth the surface, and freeze for another hour or two.
- Scoop and enjoy:
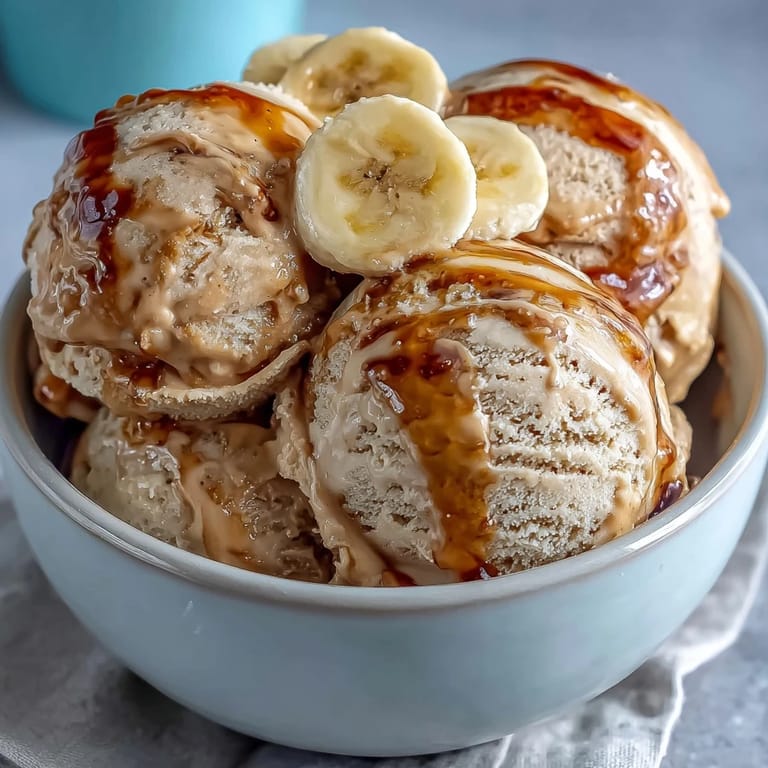
- Spoon your frosty creation into bowls and don’t be shy with the toppings if you’re feeling fancy.
 Save to Pinterest
  Save to Pinterest
 There was one summer afternoon when a few extra chocolate chips made their way in, and suddenly the kitchen felt like an ice cream parlor—everyone wanted a scoop, spooning straight from the pan while the sun set outside.
How to Customize Your Ice Cream
Chocolate chips, toasted coconut, or a handful of salted peanuts can be gently folded in before the final freeze for a texture boost. I love letting everyone pick their own toppings—crushed pretzels and a drizzle of warm chocolate sauce are are an almost unbeatable combo. The best part about this recipe is how adaptable it is to whatever is hiding in your pantry.
When to Serve (and How to Store)
This treat shines as a quick afternoon snack, a fuss-free dessert at the end of a barbecue, or even disguised as breakfast on a hot morning. Stash extras in a freezer-safe container, smoothing the top with a spatula, and just remember to let it sit on the counter a few minutes before scooping again if it’s hardened overnight.
A Few Ingredient Swaps That Work Wonders
Almond or cashew butter adds a new spin if peanut butter’s not your thing. Maple syrup keeps it vegan, but honey lends a bit of floral warmth if you prefer. Vanilla bean paste gives subtle flecks and a stronger vanilla note if you want to try something special.
- If your bananas are small, use five instead of four for the same creamy results.
- A dash of cinnamon adds warmth and depth without overpowering the other flavors.
- Keep parchment or wax paper handy so the ice cream lifts easily from the pan.
 Save to Pinterest
  Save to Pinterest
 Friends still talk about the night we polished off a whole batch during a thunderstorm, debating which topping reigned supreme. Give this ice cream a whirl the next time you crave something cold, creamy, and just a little bit rebellious.
Recipe FAQs
- → How do I achieve a smooth, creamy texture?
Use fully frozen banana slices and a high-powered blender or food processor. Pulse, scrape down the sides, and continue until silky. A tablespoon of plant milk can loosen very thick mixtures.
- → Can I substitute the peanut butter?
Yes—almond, cashew, or sunflower butter work well. Texture and flavor will change slightly, so taste and adjust the sweetener if needed.
- → What freezing time gives scoopable texture?
For soft-serve, serve right after blending. For scoopable ice cream, freeze the blended mixture in a container for 1–2 hours; if very firm, let sit a few minutes at room temperature before scooping.
- → How long can I store it in the freezer?
Store in a freezer-safe container for up to two weeks. Press parchment onto the surface to limit ice crystals and thaw a few minutes before scooping.
- → Are there easy mix-in ideas?
Fold in chocolate chips, chopped nuts, or swirls of melted chocolate before the final freeze. Fresh berries or a sprinkle of flaky sea salt also brighten the flavor.
- → Is this suitable for special diets?
When made with maple syrup, the dish is vegan, dairy-free and gluten-free. It contains peanuts unless you swap to a different nut or seed butter—check labels for allergens.