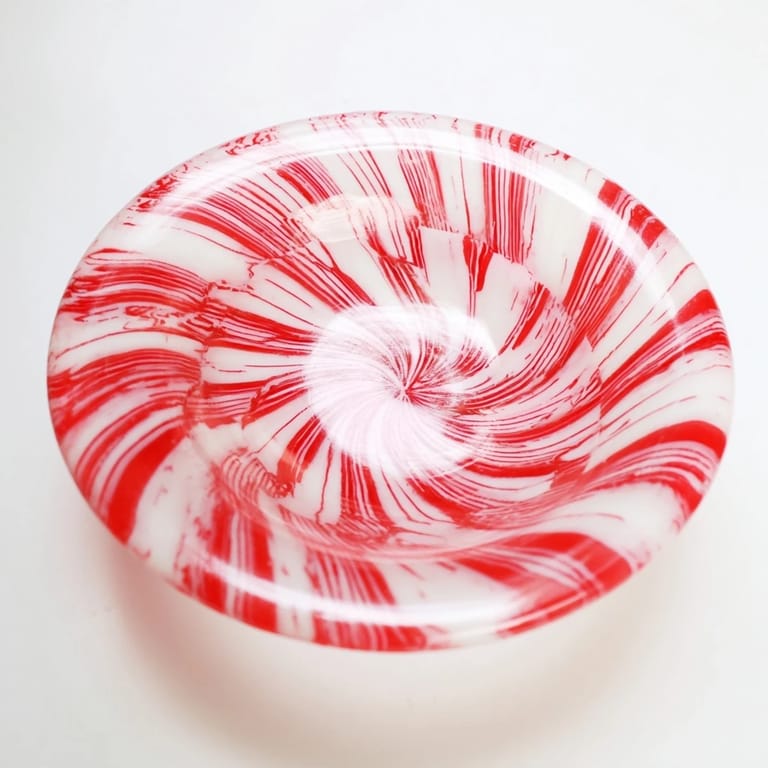
No-Bake Peppermint Candy Bowl

Featured in: Sweet Maple Treats

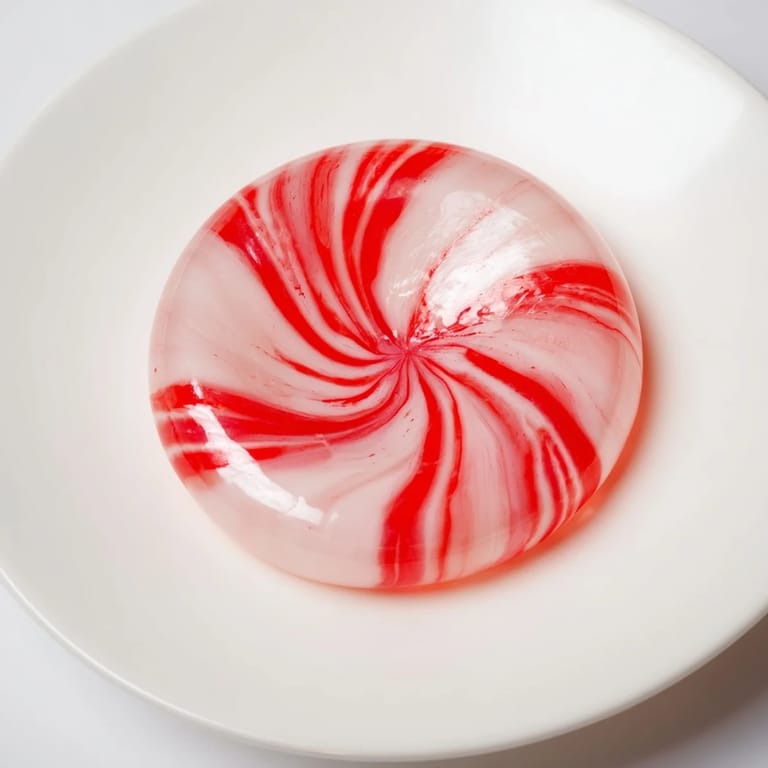
This festive treat features melted peppermint candies baked gently to form a flexible disk. Once warm, it's molded over a bowl to create a sturdy, edible container perfect for holding dry snacks or gifts. The candy bowl hardens as it cools, resulting in a vibrant red-and-white striped vessel that's both functional and decorative. Great for holiday entertaining, this simple method requires minimal time and few ingredients.

Updated on Mon, 24 Nov 2025 14:11:00 GMT
No-Bake Peppermint Candy Bowl shimmering, translucent for sweet treats, a fun DIY dessert project. Save to Pinterest
No-Bake Peppermint Candy Bowl shimmering, translucent for sweet treats, a fun DIY dessert project. | maplefrost.com

A festive, no-bake edible bowl made from peppermint candies—perfect for holiday gifting or serving treats in a fun, creative way.

This DIY peppermint candy bowl was a hit at our holiday party, making treats feel extra special and festive.

Ingredients

  • Candy: 25–30 peppermint hard candies (round, classic red-and-white striped)

Tired of Takeout? 🥡

Get 10 meals you can make faster than delivery arrives. Seriously.

One email. No spam. Unsubscribe anytime.

Instructions

Step 1:
Preheat your oven to 300°F (150°C). Line a baking sheet with parchment paper or a silicone baking mat.
Step 2:
Unwrap all the peppermint candies and arrange them on the parchment in a tight circle, slightly overlapping, to form a round shape. Place additional candies in the center to create a solid disk about 7–8 inches in diameter.
Step 3:
Bake for 7–10 minutes, watching closely, until candies melt together but do not bubble or brown.
Step 4:
Remove from the oven and let sit for 30 seconds—just until candies are cool enough to handle but still flexible.
Step 5:
Wearing oven mitts, gently lift the melted candy disk (with parchment) and quickly invert it over an upside-down, oven-safe bowl to form the bowl shape. Mold gently to fit.
Step 6:
Let the candy cool and harden completely (about 30 minutes). Once set, carefully remove the candy bowl from the mold.
Step 7:
Use to serve dry treats like popcorn, chocolates, or wrapped candies.
Save to Pinterest
| maplefrost.com

This bowl has brought so much joy to our family gatherings, making holiday treats feel more magical and inviting.

Notes

Try using different colored candies for a unique look. Store in a cool, dry place and handle with care.

Required Tools

Baking sheet, parchment paper or silicone baking mat, oven mitts, small oven-safe bowl (for molding), spoon or spatula (optional, for shaping)

Allergen Information

Contains none of the major allergens, but always check candy packaging for potential cross-contamination with milk, nuts, or soy. Not suitable for people with sugar sensitivities.
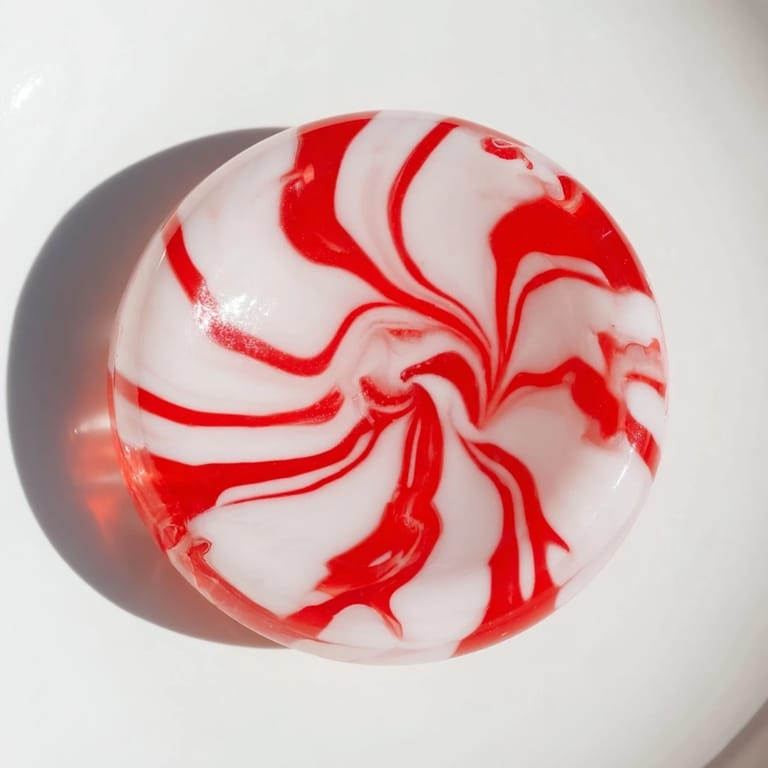
Making a no-bake Peppermint Candy Bowl, a festive holiday project with beautiful, glistening red stripes. Save to Pinterest
Making a no-bake Peppermint Candy Bowl, a festive holiday project with beautiful, glistening red stripes. | maplefrost.com

This peppermint candy bowl adds a festive, edible centerpiece to any holiday table in just minutes.

Recipe FAQs

→ What type of candies work best?

Hard peppermint candies with classic red-and-white stripes melt evenly and hold shape well when baked.

→ How do I prevent the candy from bubbling or burning?

Bake at 300°F (150°C) and watch closely, removing the candies as soon as they melt together without bubbling or browning.

→ Can I use this bowl for moist foods?

It's best to avoid moist fillings as the candy bowl can become sticky and soften with moisture exposure.

→ How long does it take for the bowl to harden?

Let the molded candy cool undisturbed for about 30 minutes to harden completely before use.

→ Can I customize the candy bowl colors?

Yes, using different colored hard candies can create unique, vibrant bowls tailored to various occasions.

20-Minute Dinner Pack — Free Download 📥

10 recipes, 1 shopping list. Everything you need for a week of easy dinners.

Instant access. No signup hassle.

No-Bake Peppermint Candy Bowl

A peppermint candy bowl formed by melting candies into a sturdy, festive shape for treats or gifts.

Prep time
10 minutes
Time to cook
10 minutes
Overall time
20 minutes
Created by Hannah Marlowe


Level Easy

Cuisine type American

Makes 1 Portions

Diet preferences Plant-based, No dairy, No gluten

What You’ll Need

Candy

01 25 to 30 peppermint hard candies, round, classic red-and-white striped

Directions

Step 01

Preheat oven and prepare baking surface: Preheat the oven to 300°F. Line a baking sheet with parchment paper or a silicone baking mat.

Step 02

Arrange peppermint candies: Unwrap all peppermint candies and arrange them tightly in a slightly overlapping circle, then fill the center to form a solid disk approximately 7 to 8 inches in diameter.

Step 03

Melt candies: Bake the candy disk for 7 to 10 minutes, watching carefully until the candies melt together without bubbling or browning.

Step 04

Cool to handle: Remove from the oven and let rest for 30 seconds until cool enough to handle but still flexible.

Step 05

Form candy bowl: Using oven mitts, lift the melted candy disk with the parchment paper, invert it quickly over an upside-down oven-safe bowl, and gently mold to shape.

Step 06

Harden the bowl: Allow the candy to cool and harden completely for about 30 minutes before carefully removing it from the mold.

Step 07

Fill and serve: Use the hardened peppermint bowl to serve dry treats such as popcorn, chocolates, or wrapped candies.

Equipment you’ll need

  • Baking sheet
  • Parchment paper or silicone baking mat
  • Oven mitts
  • Small oven-safe bowl for molding

Allergy details

Be sure to review ingredient lists for allergens and reach out to your healthcare provider if uncertain.
  • Potential cross-contamination with milk, nuts, or soy; not suitable for individuals sensitive to sugar.

Nutrition info (per portion)

All nutrition info is just for reference and can’t replace professional medical guidance.
  • Energy: 480
  • Total fat: 0 grams
  • Carbohydrates: 120 grams
  • Proteins: 0 grams

Cooking Shouldn't Be Hard ❤️

Get a free recipe pack that makes weeknight dinners effortless. Real food, real fast.

Free forever. Unsubscribe anytime.