 Save to Pinterest
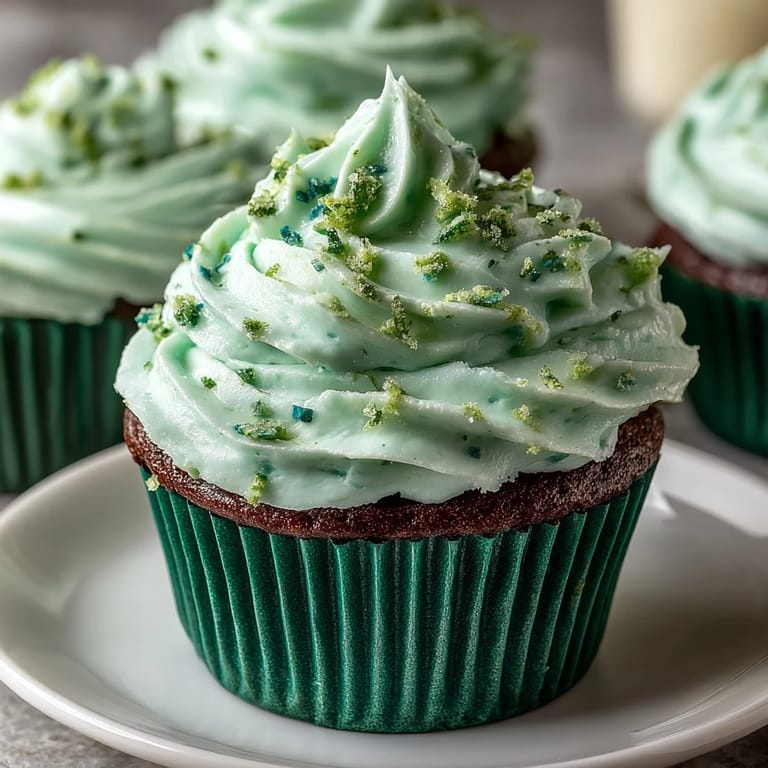
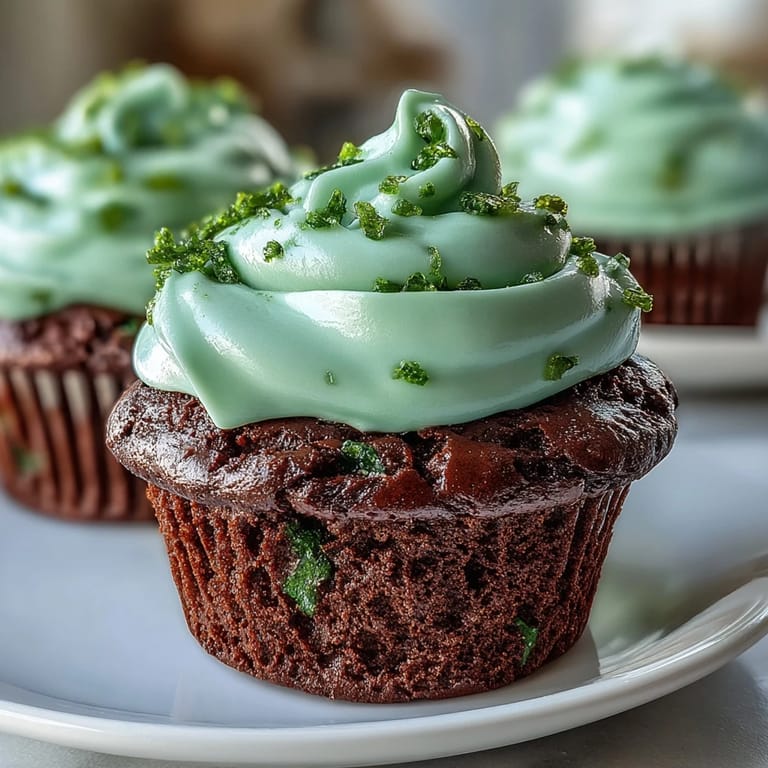
 My coworker burst into the break room that March morning holding a single green cupcake, and I couldn't stop staring at it—not because it was St. Patrick's Day, but because something about that deep, jewel-toned green felt almost magical against the cream cheese frosting. She'd made them for her daughter's school party, and watching everyone's faces light up when they bit into the soft, velvety crumb made me realize these weren't just festive desserts, they were tiny edible surprises. The cocoa base keeps things grounded and rich while the green color steals the show, creating this perfect balance between indulgent and playful. That's when I knew I had to master them.
I made these for a neighborhood potluck on March 16th, and honestly, I was nervous about how the green would read to people—would it look artificial or fun? The moment someone asked for the recipe, I knew I'd nailed it. Three people came back for seconds, and one neighbor asked if I could teach her how to get that exact shade. That's when baking stops being about following directions and becomes about creating something people genuinely want more of.
Ingredients
- All-purpose flour (1 1/4 cups): The foundation—make sure it's fresh because old flour can make cupcakes dense.
- Granulated sugar (3/4 cup): This isn't just sweetness; it aerates the batter and keeps the crumb tender.
- Unsweetened cocoa powder (1/4 cup): The secret weapon that gives these depth without overpowering the green color or making them taste like chocolate.
- Baking soda (1/2 teaspoon) and salt (1/4 teaspoon): Baking soda reacts with the vinegar to create lift and that velvety crumb we're after.
- Buttermilk (2/3 cup): Room temperature is crucial—it prevents lumps and helps the batter come together smoothly.
- Vegetable oil (1/2 cup): Oil keeps these tender longer than butter alone would; they'll still taste fresh the next day.
- Large eggs (2): Room temperature eggs blend better and create a more uniform crumb; cold ones can make the batter lumpy.
- Vanilla extract (1 teaspoon): Use real vanilla if you can—the difference in flavor is worth it.
- Distilled white vinegar (1 teaspoon): This reacts with the baking soda and buttermilk to give you that signature tender crumb and subtle tanginess.
- Green gel food coloring (1 tablespoon): Gel holds its vibrance better than liquid coloring and won't thin your batter.
- Cream cheese (8 oz) and unsalted butter (1/4 cup) for frosting: Both should be softened to room temperature or they'll be lumpy no matter how much you mix.
- Powdered sugar (2 cups, sifted): Sifting removes lumps and makes the frosting silky instead of grainy.
- Green sprinkles or shamrock candies (optional): These are your finishing touch—they make people smile before they even taste a bite.
Tired of Takeout? 🥡
Get 10 meals you can make faster than delivery arrives. Seriously.
One email. No spam. Unsubscribe anytime.
Instructions
- Preheat and prep:
- Set your oven to 350°F and line your muffin tin with cupcake liners—this prevents sticking and makes them look more polished when you serve them. If your oven runs hot or cold, you'll notice during baking, so keep an eye on things around the 16-minute mark.
- Mix the dry ingredients:
- Whisk flour, sugar, cocoa powder, baking soda, and salt together in a large bowl until there are no cocoa streaks—this distributes the leavening evenly. The cocoa should be fully incorporated so every bite has that subtle chocolate note.
- Combine the wet team:
- In a separate bowl, whisk buttermilk, oil, eggs, vanilla, vinegar, and green food coloring until it's smooth and uniformly green. This is where the color happens, and whisking ensures even distribution without overmixing.
- Bring it together gently:
- Pour the wet mixture into the dry ingredients and fold until just combined—you want a few flour streaks visible because overmixing develops gluten and makes cupcakes tough. This takes restraint, but it's worth it.
- Fill the liners:
- Divide batter evenly among the 12 liners, filling each about two-thirds full—this gives them room to rise without overflowing. I use an ice cream scoop for consistent, even cupcakes.
- Bake until golden:
- Bake for 16 to 18 minutes until a toothpick inserted in the center comes out clean or with a few moist crumbs. You'll smell that cocoa-vanilla goodness, and the tops should spring back slightly when you touch them.
- Cool strategically:
- Leave them in the tin for 5 minutes so they set and won't crumble, then move them to a wire rack to cool completely. Frosting warm cupcakes will make it melt and look messy, so patience is your friend here.
- Make the frosting:
- Beat softened cream cheese and butter together until fluffy and pale, then gradually add sifted powdered sugar while mixing, followed by vanilla. The mixing time should be a few minutes total—beat until it's light and creamy, like fluffy clouds.
- Frost with generosity:
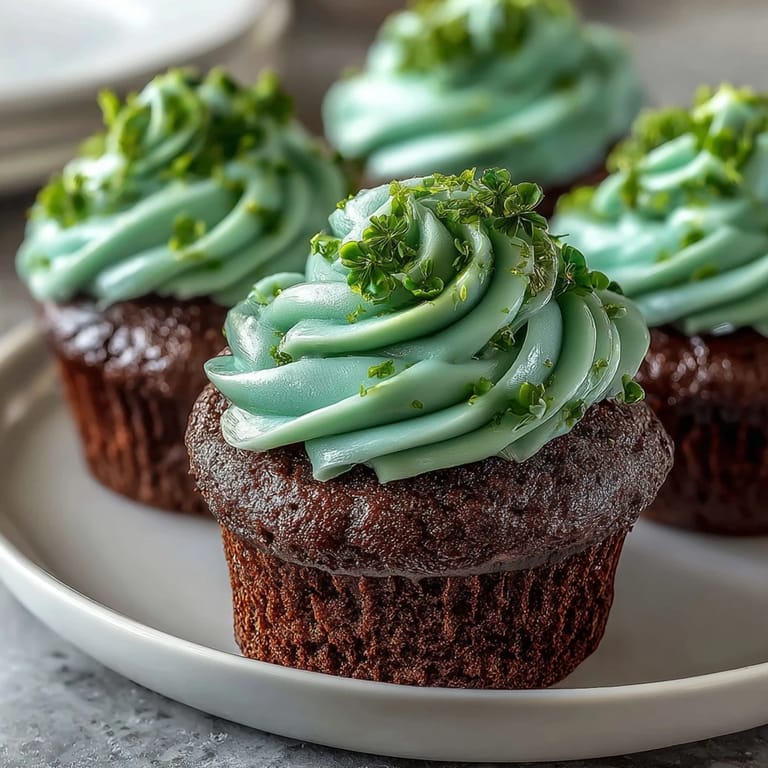
- Once cupcakes are completely cool, spread or pipe frosting on top using a spatula or piping bag—I prefer piping because it looks more intentional. Top with green sprinkles or shamrock candies if you want them photo-ready.
 Save to Pinterest
 The best moment with these came when my neighbor's seven-year-old declared they were "magic green cakes" and asked if the green came from real magic or just very good cooking. I told her very good cooking, and she seemed to accept that magic was real after all. That's when I understood these cupcakes are more than just a holiday treat—they're an excuse to make people feel celebrated.
Why the Cocoa Base Matters
I've made green velvet cupcakes with different approaches, and I learned quickly that skipping the cocoa powder makes them taste artificial and one-dimensional. The small amount of cocoa (only 1/4 cup) is barely detectable as chocolate—it's there as a flavor anchor, adding depth and earthiness that makes the green color pop without tasting dark. Think of it as the difference between a flat, bright green and a rich, jewel-toned green; the cocoa is what creates that sophisticated depth.
The Oil and Buttermilk Secret
Most cupcake recipes use butter, but the combination of oil with buttermilk is what keeps these impossibly tender even days later. The oil coats the flour particles better than solid butter, creating a more delicate crumb that stays moist, while the buttermilk adds tanginess and reacts beautifully with the baking soda to create lift. I discovered this by accident when I was out of buttermilk and used sour cream instead—the cupcakes were heavier and didn't have that ethereal lightness, so I switched back and never looked back.
Storage and Make-Ahead Tips
These cupcakes stay fresh and moist for three days in an airtight container at room temperature, or you can bake them up to a day ahead and frost them just before serving. If you're planning ahead, you can actually freeze the unfrosted cupcakes for up to two weeks—just thaw them at room temperature before frosting. The frosting can be made up to two days ahead and stored in the refrigerator in an airtight container, though you'll want to bring it back to room temperature and re-whip it gently before using.
- Keep unfrosted cupcakes in an airtight container to prevent them from drying out.
- If your frosting separates or looks broken after refrigeration, a few minutes of gentle whipping will bring it back together.
- These travel beautifully in a cupcake box with dividers, making them perfect for potlucks or parties.
 Save to Pinterest
 These green velvet cupcakes have become my go-to for St. Patrick's Day gatherings because they're festive without feeling forced, and they taste good enough that people will eat them long after the holiday passes. They're proof that a little bit of planning and attention to detail can turn a simple cupcake into something memorable.
Recipe FAQs
- → What gives these cupcakes their green color?
Green gel food coloring is used to achieve the vibrant green hue without thinning the batter.
- → Can I make these cupcakes dairy-free?
Yes, substitute plant-based cream cheese, butter, and buttermilk for a dairy-free version that maintains texture and flavor.
- → How do I know when the cupcakes are done baking?
Insert a toothpick into the center; it should come out clean or with a few moist crumbs when fully baked.
- → What is the best way to frost the cupcakes?
Once cooled, frost using a spatula or piping bag for an even, creamy vanilla layer on top.
- → Are there any recommended garnishes?
Green sprinkles or shamrock candies add a festive touch and enhance presentation for St. Patricks celebrations.